Thursday, April 3, 2014

Kitchen Redo- Adding a Cutting Board Shelf

The was the demo part of our "remodel." After using our kitchen for a few years we know where we cut things, mix things, and make things. It only made sense to put items that we use for cutting, for example, on the side of the kitchen that we cut things. Granted my kitchen is very tiny so walking across it to grab the cutting boards was not that big of a challenge, but it makes things so much more convenient when they are already right where you need them to be. So, to solve the cutting board dilemma, my husband created a cutting board shelf. We had, and still have, a large amount of wasted space which drives me crazy, but we can only do so much at a time. Right next to our drawers, we had a thin space that would be perfect for holding a few cutting boards.

We first had to make sure there was nothing behind where we wanted the shelf. We took off the side panel to find what we expected, wasted space. See all the space behind the drawers? They could be that much deeper or there could be something else done with that space! Ugh, wasted space!!!

After we knew we could make this work we took out the front panel with a screwdriver and hammer.

We created a bottom shelf and back, again out of the material we used for the doors.  There was already a panel on the inside part of the space (next to the drawers) so we didn't need to add anything there.

Here is a close up of how we got the bottom shelf to attach to the sides. We just notched out a space to slide the new bottom in.

Because there was already supporting boards on the front of the unit, we just had to rest the bottom of the shelf on it. We did, however, need to cut a notch out of the side to go around the 2 x 4 toward the front. 

Before we put the final side panel on, this is what it looked like.

Front panel

Stained


The counters are actually really crooked so this did happen, but not to worry because we will cover it with corner molding. 

We still don't have the corner on, but it looks pretty good!

To see the before and after pictures click here.
To see the sanding process click here.
To see the painting and staining process click here
To see the mess we created click here.
To see the cabinet doors click here.
To see edging choices click here.

Monday, February 17, 2014

Kitchen Redo- Edging Choices

While my husband was working on the doors, I was busy staining the drawers. After I finished sanding the top of the drawer, I began sanding the edging of it. That is when I found out that the edging was pressed wood which is basically, from my understanding, little pieces of wood pressed together to make a bigger piece of wood. This type of wood does not take stain well at all. So we had to figure out what to do with it. 

A black edge was my husbands choice.

This was with three coats of stain.

And this was with some really old stain that was here when we moved in on top of several coats of the previous stain. 

We ultimately went with the really old stain.

To see the before and after pictures click here.
To see the sanding process click here.
To see the painting and staining process click here
To see the mess we created click here.
To see the cabinet doors click here.

Monday, February 10, 2014

Kitchen Redo- Cabinet Doors

After we finished the part that was inside we put all our kitchen items back on the shelves and our kitchen became functional again albeit without doors, but I wasn't about to complain. The only thing we still couldn't use was the drawers. We moved our work outdoors. My husband cut and routered out the middle paneling of the doors. He actually found out that the entire back was just a piece of paneling. It took some work, but he finally just had the frames left. By this time we were both in such a hurry to get everything done, I didn't take very many pictures the way a good blogger should. Sorry, but I needed my kitchen put back together.


So fast forward picture wise to the part where the door frames were sanded...

Because we took off the back of the doors, we had to replace them with something. We settled on plywood. At the hardware store we found sheets of floor boards. We didn't know they were floor boards at the time, but that is what we used. We cut them to size, and glued them to the frame. 

The boards came with markings on one side of them, so we had to sand that off, and cut an angle to match the doors, and cut out the notches where the hardware went to connect the doors to the cabinets.

Again, with a lack of pictures, sorry, sorry, sorry. But once the back was glued and dried to the frame and the marks and words were all sanded off the back, we finally began staining the doors. Like with the skeleton of the cabinets in the house, we stained with golden oak and put polyurethane on top. This process took about 3-4 days just for staining the doors because we need to allow everything to dry before adding the next coat.

To see before and after pictures click here.
To see the sanding process click here.
To see the painting and staining process click here.
To see the mess click here.

Wednesday, February 5, 2014

Kitchen Redo- The Mess

If you are thinking about starting this messy job, be warned! This is what we lived with for a month or so.

This was on our kitchen table that sits right outside the kitchen. It was incredibly dusty. We actually had to clean all our kitchen things before we could put them away after we finished because the dust got everywhere. Cover your things if you can!

Our living room was taken over. Anytime we wanted something, we would have to dig for it in this mess. I even tried to organize all the stuff when we were moving out of the kitchen, but it didn't work very well.


Look at how clean it was when we finally got to put everything away! 


We also finally were able to eat at our table. This was our first meal after a month of not being able to use it. We were so happy. Even my husband was happy enough to let me take a picture of him smiling!

To see the before and after pictures click here.
To see the sanding process click here.
To see the painting and staining process click here.


Monday, January 27, 2014

Kitchen Redo- Painting & Staining

We had leftover paint that we knew we could use. Yellow from our main floor and brown from our bathroom. To decide, we painted one cupboard brown and one yellow. 

Brown

Yellow

We settled on brown. I really actually thought the yellow would be fun-add a pop of color from inside since we plan on repainting our yellow kitchen and dining room a different color anyway. But brown was the safe choice and my hubby likes to lean toward the safe side.  Me, I'm more bold.

Here is the pre-stained inside painted look.

Again, no stain yet.

We went with golden oak color for the stain. 

It looks different in different light. Even now that we've had the cabinets done for 3-4 months they look different in different light.


We really wanted to get the inside done because our house was a mess and our kitchen was un-usable and we hadn't sat at our table to eat for a really really long time. Oh, and our living room was taken over by all the kitchen innards. We focused on getting the entire inside finished before we started working on the doors. 

When the painting and staining was done, we covered the stain with a few coats of polyurethane. Luckily we did this part while the air wasn't so cold and could open our windows because the fumes were terrible!

To see the before and after pictures click here.
To see the sanding process click here.

Sunday, January 12, 2014

Kitchen Redo- Sanding

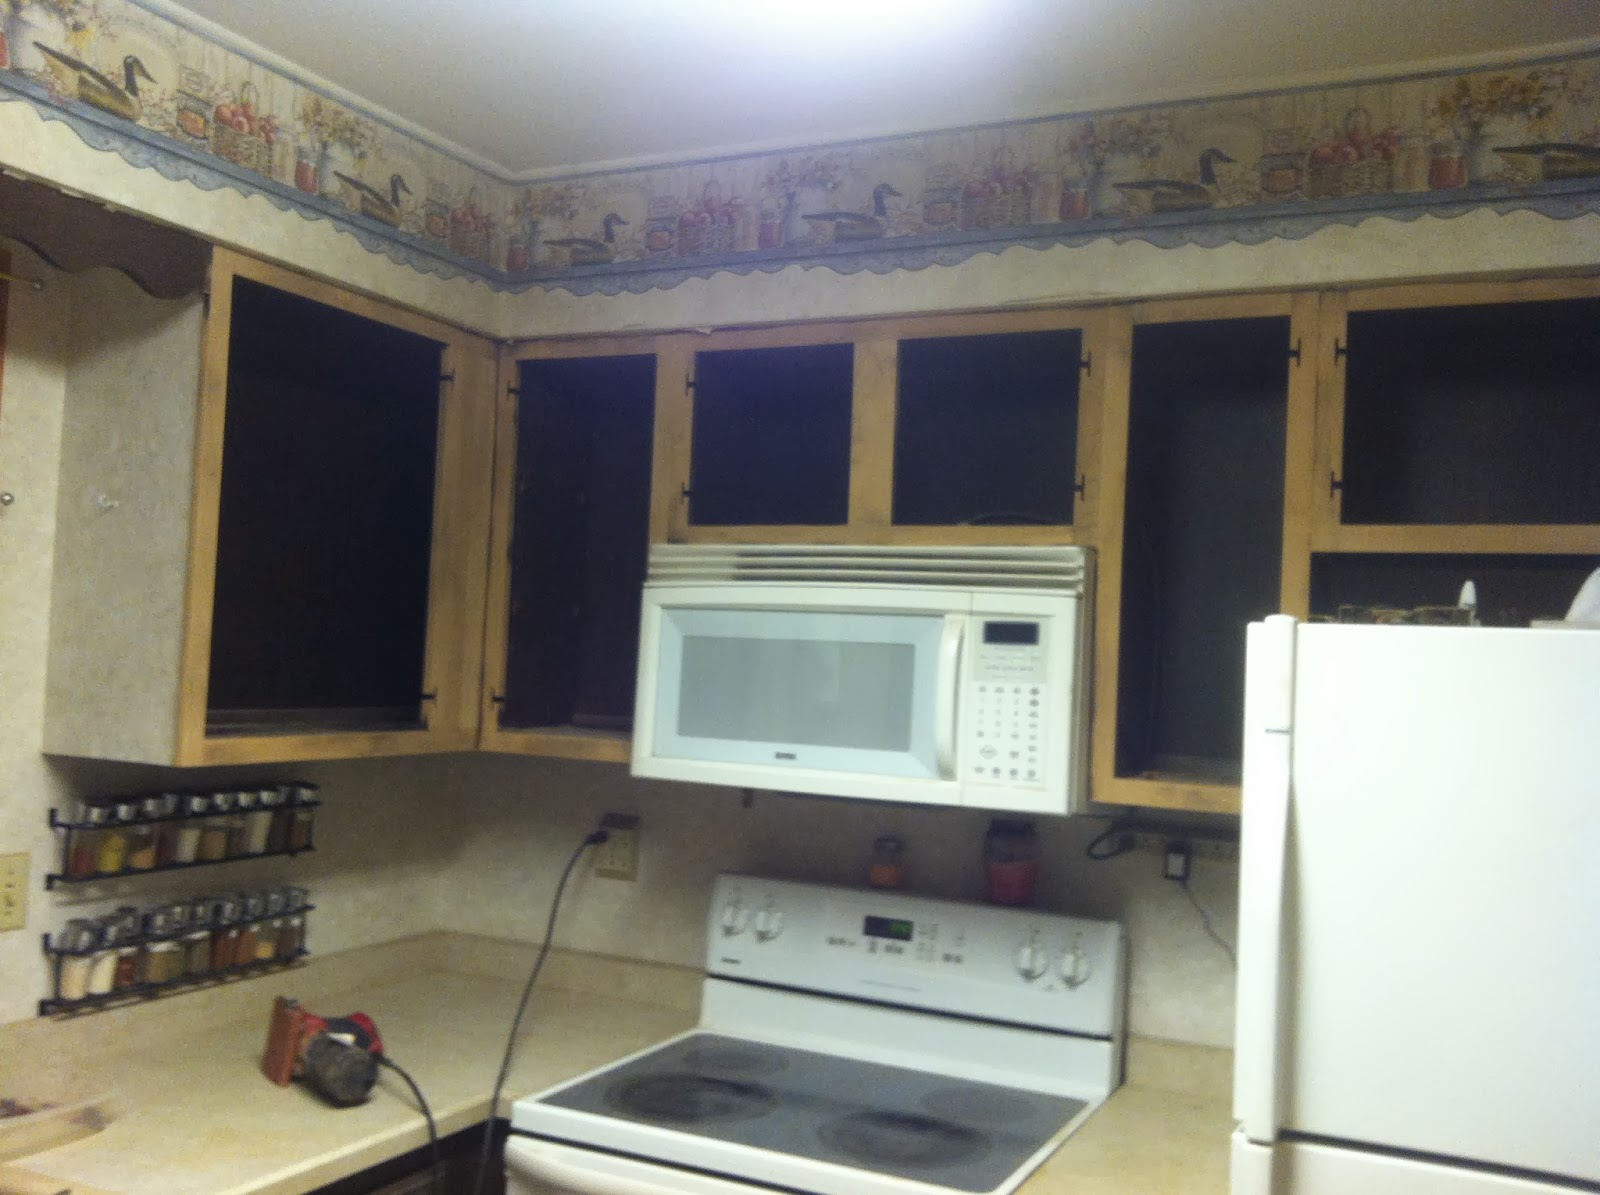
I decided to break down all the steps we took to accomplish our kitchen makeover. After we removed all the doors and shelves, we started sanding. This is what we did for an entire 2-3 weeks. Every spare moment we had, we were sanding. 

In this post here, I mentioned how we just wanted to see if the skeleton of the cabinets would be stainable, this is where we started and why we had to keep going. Huge difference between the dark and what was under there!


It already felt brighter with just the outsides rid of that dark stain.


See all the dust on the stove? My kids loved getting their little fingers on it whenever mom and dad weren't watching. =)


I highly suggest wearing a mask. Yes it looks silly, but look at all the light brown on my shirt. That is all dust just from working right in that little spot. Also if you don't want dust all over everything in your house, you should probably cover it. We didn't have that luxury so we were vacuuming our entire house on a daily basis. That dust got EVERYWHERE!

The insides of the cabinets were that laminate stuff that is not stainable. So, we decided to paint the insides. Before we did that, we sanding the walls inside to rough it up a bit so the paint would stick to it better.


To see the before and after pics click here.

Thursday, January 9, 2014

Kitchen Redo- Before & After

About the time school started my husband and I innocently started looking into how we could fix up our kitchen. It was old, dingy, and dark. We were tired of the many various colors of wood throughout the kitchen, and since we moved in 6 years ago have been dreaming of ways we can improve it. Without really meaning to, we got started on a kitchen makeover project that lasted about a month. I know that sounds crazy, how can anyone get into a huge project without meaning to? Well, we had a cabinet door that was broken in the middle and we had been thinking that maybe we can cut out the wood paneling and replace it with something-glass, chicken wire, plywood, etc. So, with the broken door in hand my husband went to explore. We weren't even sure if it was real wood under all the dark stain. We thought it might just be pressed wood with a laminate covering. We figured out we could in fact cut out the paneling and sand down the outside of the cabinet doors which would reveal stainable wood. But we were still worried about the cabinets themselves, were they stainable? About 5 minutes after I asked that question, part of the cupboard frame was sanded and we had decided that with one door missing and part of the dark wood already sanded, we had to keep going. That day we made a trip into town to buy plywood, stain, polyurethane, and sandpaper. Because of the weird start we had, I didn't get very many good before pictures, but I think you get the idea...

See the different wood colors? Yes, this is what we moved into.


This is the wood paneling we cut out. The frames of the doors were actually nice so we just replaced the inserts and re stained them. 
Terrible picture, I know, but you can see how dark and drab the kitchen looks.


Much better, right? We still have a few things we want to do, but for now, we are very happy with the results. 

To see the before and after pictures click here.
To see the sanding process click here.
To see the painting and staining process click here
To see the mess we created click here.
To see the cabinet doors click here.
To see the door and drawer trim click here.
To see how we added a cutting board shelf click here.
To see our kick board click here.