I decided to break down all the steps we took to accomplish our kitchen makeover. After we removed all the doors and shelves, we started sanding. This is what we did for an entire 2-3 weeks. Every spare moment we had, we were sanding.

In this post here, I mentioned how we just wanted to see if the skeleton of the cabinets would be stainable, this is where we started and why we had to keep going. Huge difference between the dark and what was under there!

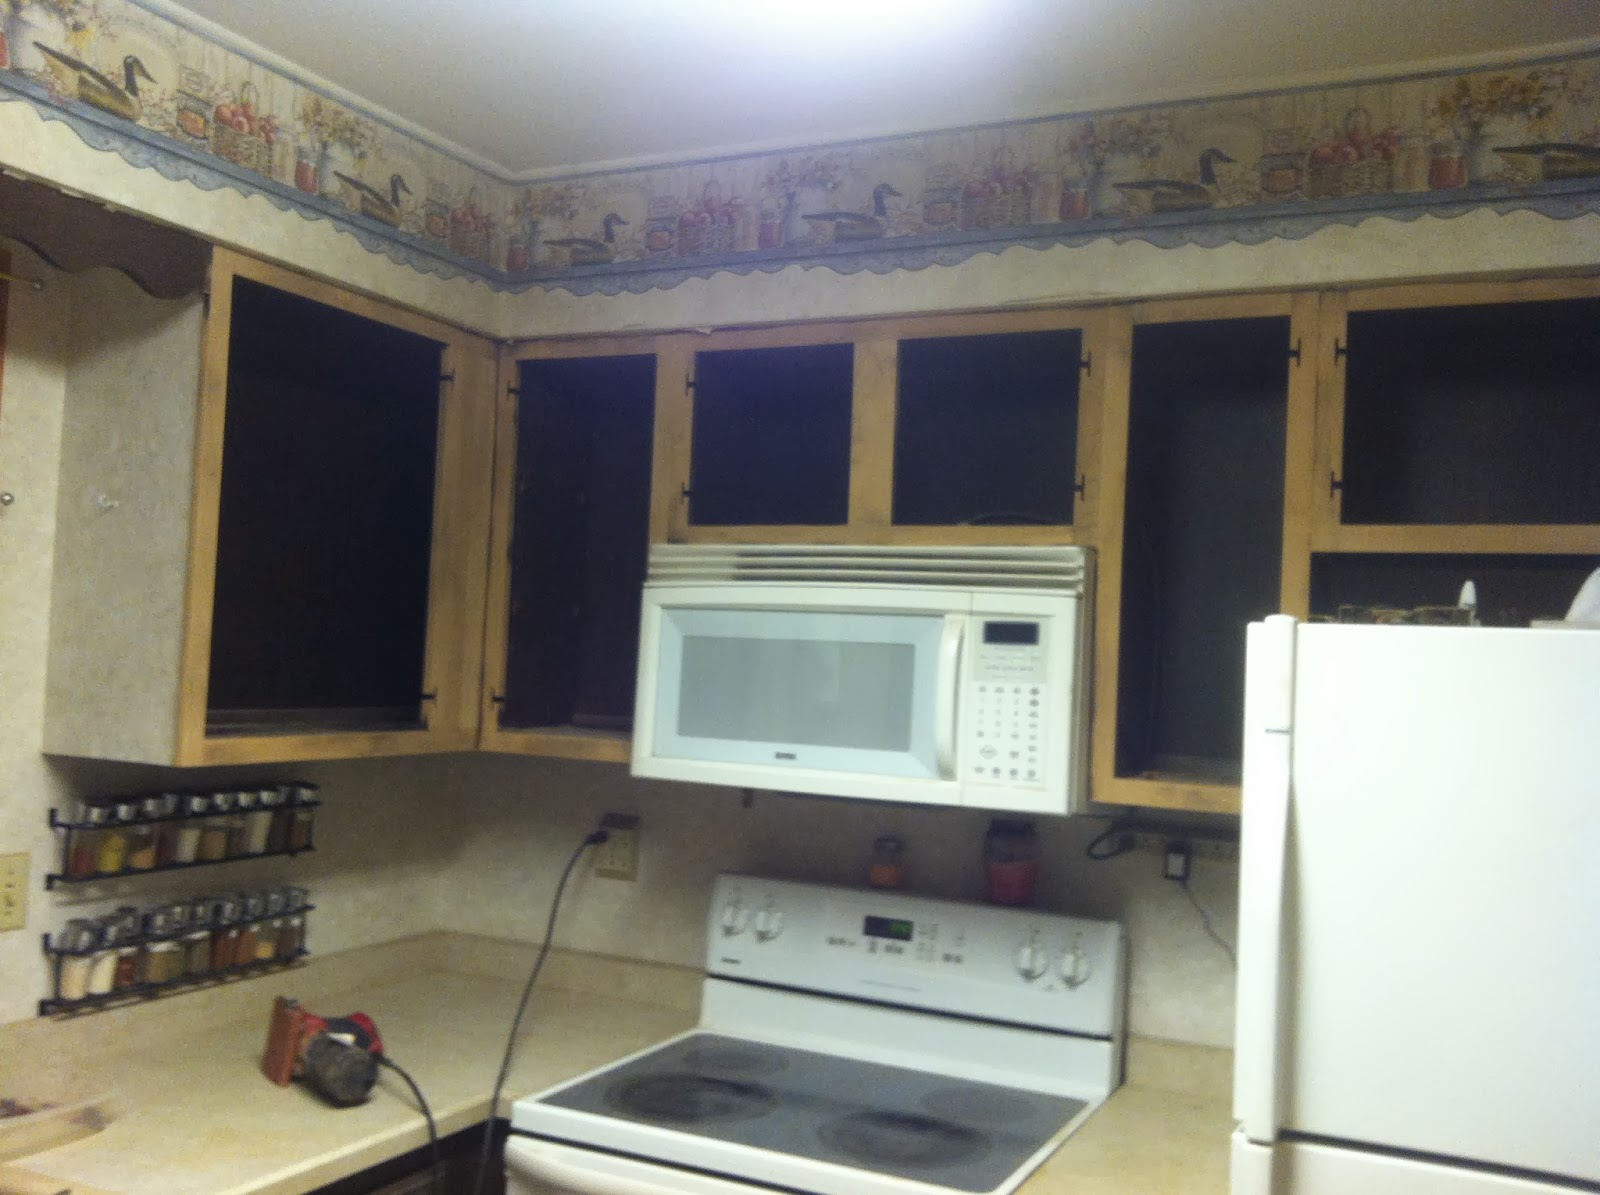

It already felt brighter with just the outsides rid of that dark stain.


See all the dust on the stove? My kids loved getting their little fingers on it whenever mom and dad weren't watching. =)


I highly suggest wearing a mask. Yes it looks silly, but look at all the light brown on my shirt. That is all dust just from working right in that little spot. Also if you don't want dust all over everything in your house, you should probably cover it. We didn't have that luxury so we were vacuuming our entire house on a daily basis. That dust got EVERYWHERE!

The insides of the cabinets were that laminate stuff that is not stainable. So, we decided to paint the insides. Before we did that, we sanding the walls inside to rough it up a bit so the paint would stick to it better.


To see the before and after pics click here.
No comments:
Post a Comment