Showing posts with label Kid Stuff. Show all posts

Friday, July 25, 2014

Buzz LightYear Cake

For my sons birthday way bake in December (yes, I'm that far behind!) he wanted a buzz lightyear cake. 


We started with a 9x13 cake and then carved it into a rocket shape. We split it in two and cut the top layer into a square.

This was the first time we tried a special filling. We found this stuff at walmart. 

My husband dirty icing the cake.

To make the wings, we just used leftover cake. 

We put them on cardboard covered with tin foil. Make sure to make the cardboard long enough to push the extra into the sides of the cake.  

Detail work.

It takes the longest.

But it is pretty awesome to see it come together.


To attach the wings, we just pushed them into the side of the cake.

Finished product.

I think he likes it!

Happy birthday buddy!

Monday, December 2, 2013

Doll Cake

Many months ago, before my 7 year old turned 7, she suggested not so subtly that she would be thrilled if daddy made her a doll cake. It just so happened that a few years ago my husband's mother gave us a kit to make a doll cake. And with my hubby's cake decorating skills, here was what our daughter got on her birthday.

You've got to start with a cake base that looks something like this.

Then add some detail. He hates that I take "working" shots of him.


Add the rest of the skirt, and some "clothing" on top.


 Maybe a necklace and earrings too.

And bam! You have a cute doll cake. 

Saturday, November 30, 2013

Oreo Banana Split Bites

I want to share the love with these amazing yummy treats. You can find the recipe here. I made these for my 7 year old's classroom birthday celebration. 

A few helpful tips: 
I thought one package of Oreos would be enough for a class of 17, nope, I needed 2 packages which led to another trip to town just to buy more Oreos. So save a trip and just buy at least 2 to begin with.

We ran out of white chocolate, so we used milk chocolate for about 1/2 of them. They turned out cute too.

If you can only handle a little bit of sweet, you will probably only be able to eat 1/2 of these. They are very very sweet. Good, but sweet.

If you don't want to use nuts, don't use them. We didn't and they were still tasty.

If you plan to take them to school, I suggest bringing a package of wipes for the kids. The teacher said they came in very handy when all the 1st graders had chocolate hands and faces.

Triple layer Neapolitan Oreos. I didn't even know they made these! Split in 1/2 with a banana slice in between.

Little helper, she was so good about helping. She will be a great little chef one day. =)

This is the before-the-drizzle shot. 


Ready to take to school.


Here are the mild chocolate ones. They look just as cute!

Monday, October 7, 2013

School/Home Relationship

I am a firm believer in the home/school relationship. I want my children to know that what happens at school is important to their home life. They are not two separate things, and if something happens at school, it carries home. I am very interested in how my children do at school each day, and this chart helps me know as well as being a good reminder to my kids that behavior is important in every aspect of life.

Last year, I started with my 1st kindergartner. First, I talked to the teacher to let her know what I was planning and asked for suggestions and if she was okay with it. Then I went home and made a simple chart that allowed the teacher to put a smily face for yes, my child behaved well at school or write what my child did that was not the best choice at school. It worked really well. If my daughter got a frown face, she did not get her sticker for the day on her chart at home.

This year, I wanted to start my second kindergartner off this way as well. I made some changes on the chart. I added a note to the bottom of the chart. I have my daughter sign it at the beginning of each week after we review what the note says. This chart stays in her folder that comes home everyday and it is simple for the teacher to add a smily face. So far my daughter has not had one frowny face. If she keeps it up, we may retire the chart. But for now, it is a good motivator for her to work hard and behave well at school.


(So you have something to pin ;)

Saturday, October 5, 2013

School time "chore" chart

As my kids are getting older and have started school I needed to update their contribution charts. If you want to see my original charts you can do so here. This go around I have linked them to Scribd so you can simply change the names and a few of the chores if you need and print them off. Much easier than my previous post!

Here is my 3 year old's chart.


This is my 5 year old's chart.


And, this is my 7 year old's chart.


For each day and activity, they get a sticker. If they get all their stickers that day, they get a candy. We have a ton of candy all throughout the year because of all the holidays. Since I started these charts over a year ago we have yet to run out of little candies because each time we get low, another holiday comes up and we get a candy refill. Usually the candy is a small piece of parade type candy (tootsie rolls, mini suckers, etc). If they get 5 days with all their stickers that week, they get to participate in some kind of extra activity. We have done movie and popcorn, and for the girls we have done nails. Another fav is a picnic. These charts have been a great motivator for my kids and they remember to work hard to get their stickers each day.


(So you have something to pin :)

Monday, September 30, 2013

Shark Reef day

Oh my goodness! There have been a ton of Vegas posts lately. It is bittersweet for me to tell you that this is the last Vegas post I have. It has been fun reliving our visit from this summer, but I am very excited for the next set of posts that include school, food, and diy stuff. 

On this day we visited the Shark Reef Aquarium at Mandalay Bay. It was pretty awesome. We had sharks swimming around us and got to pet stingrays. We saw many different types of fish, and we even saw an octopus and jellyfish. 

After the Shark Reef we spent some time in the store looking and playing with various toys.

If you have read my other posts about the different days we had while in Vegas, you will know that we tried to make an entire day of the things we did. This day, we read about sea creatures, did some sea creature math with little fish crackers, and had an art project. And that, my friends, brings me to the purpose of this post. We made jellyfish that turned out pretty awesome!


To make these cute little things you will need:
Ribbon, lace, and/or strips of some kind for the tentacles
Plastic bags
Needle
Thread
Hot glue/Hot glue gun
Tissue paper
Foam cut into circles

First, we cut circles out of the foam for the base. The we cut the handles off plastic grocery bags. We sewed them onto the foam circles; gathering the plastic as we went along. Leave a space to fill the inside of the plastic bags with tissue paper. When we were done sewing, we filled the inside with matching colored tissue paper. While everyone was choosing their ribbon and lace, I sewed the bags closed with the tissue paper loosely wadded up inside. Once everyone had their tentacles chosen, we hot glued them onto the base of the foam. we used lace for the inside to match the jellyfish we saw at the aquarium and ribbon or yarn for the outside tentacles. They turned out incredibly cute, and the kids were so proud of them. For hanging, we sewed thread to the top of the plastic bag.


Saturday, September 28, 2013

Discovery Children's Museum day

Another place to visit in Las Vegas for the little ones is Discovery Children's Museum (previously known as Lied Discovery Museum). We spent an entire afternoon in this new 3 or 4 story hands-on museum. 

We started at the top where we got to be detectives trying to figure out some answers based on the clues we found. The clues incorporated many different senses including sight, smell, and touch.

Here they panning through sand to find various clues.

After the mystery exhibit, they had a inventors station that included legos, building flying machines (in the first picture they are watching their flying machine float down), building that can sustain earthquakes, and so much more.

Next was the art section. Draw, color, cut, magnify various materials to see patterns, the list goes on!

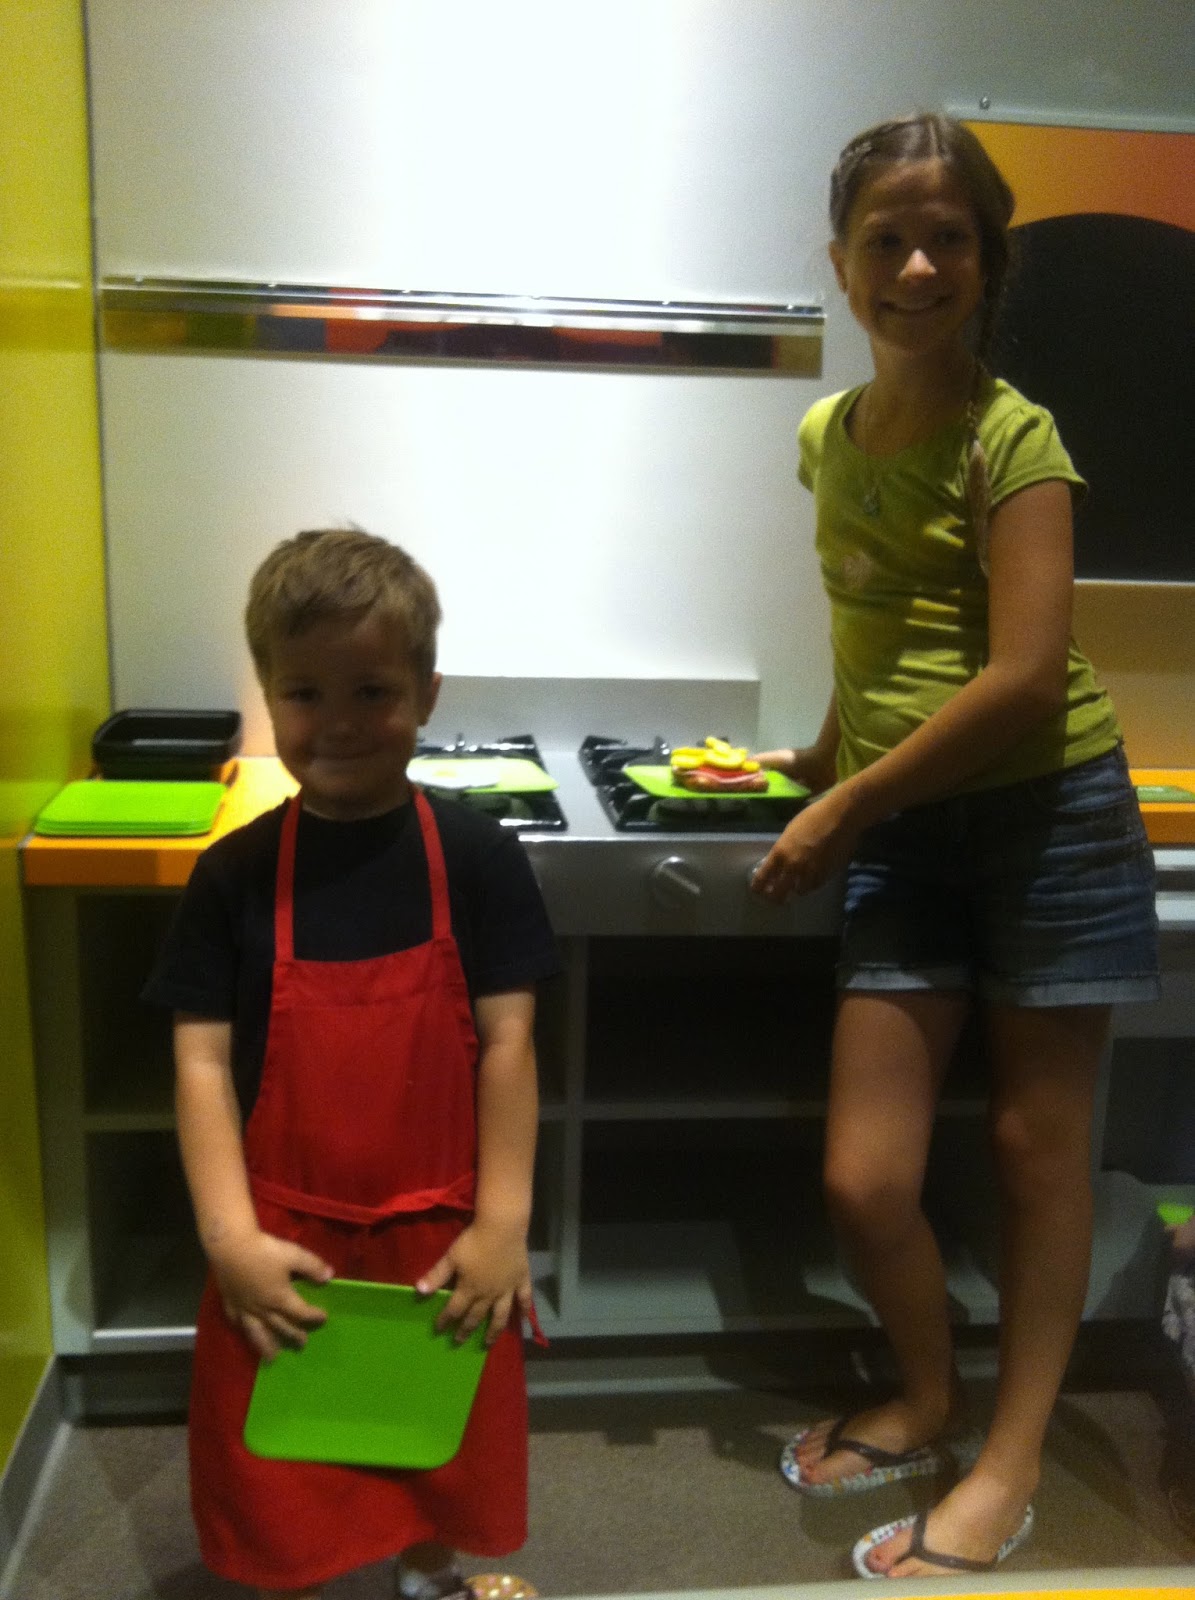
This was the place the kids got to pretend to run a town. In the first picture (sorry, the lighting was terrible for pictures) they are chefs. The second picture is a grocery store where they can go shopping or they can pretend they work at the store in the many different jobs at a grocery store. The last picture is in a vet clinic. They had an airport, bank, and wind turbine plant.

In the center of each level was a tower that has various learning and interactive activities. You can move to and from each level in this one tower. We didn't even get to all the cool activities inside the tower there were so many!

Another fun area was the water world they created. They have rain coats for the kids and many different pools of water with music activities, building activities, and buckets, balls, and squirt areas. My little man was soaked despite the raincoat he was wearing.

The last place we visited was a dress up, puppet show, theatre, castle and ship place.

The first step was to dress up for the play.

Then the play. We had a director running the curtains and narrating and another person in the booth running the lighting and sounds. 

The last thing we did was the mambo out of the museum. Right before they close they make announcements of the closing time. When it is time to leave they have some of the employees go around to some loud fun mambo music gathering those who are left. They create a train and take everyone out to the front of the museum where the customers go through a line of high fives and thank yous and goodbyes from the rest of the employees. It was a very fun and creative way to leave an amazingly fun place.