Monday, September 30, 2013

Shark Reef day

Oh my goodness! There have been a ton of Vegas posts lately. It is bittersweet for me to tell you that this is the last Vegas post I have. It has been fun reliving our visit from this summer, but I am very excited for the next set of posts that include school, food, and diy stuff. 

On this day we visited the Shark Reef Aquarium at Mandalay Bay. It was pretty awesome. We had sharks swimming around us and got to pet stingrays. We saw many different types of fish, and we even saw an octopus and jellyfish. 

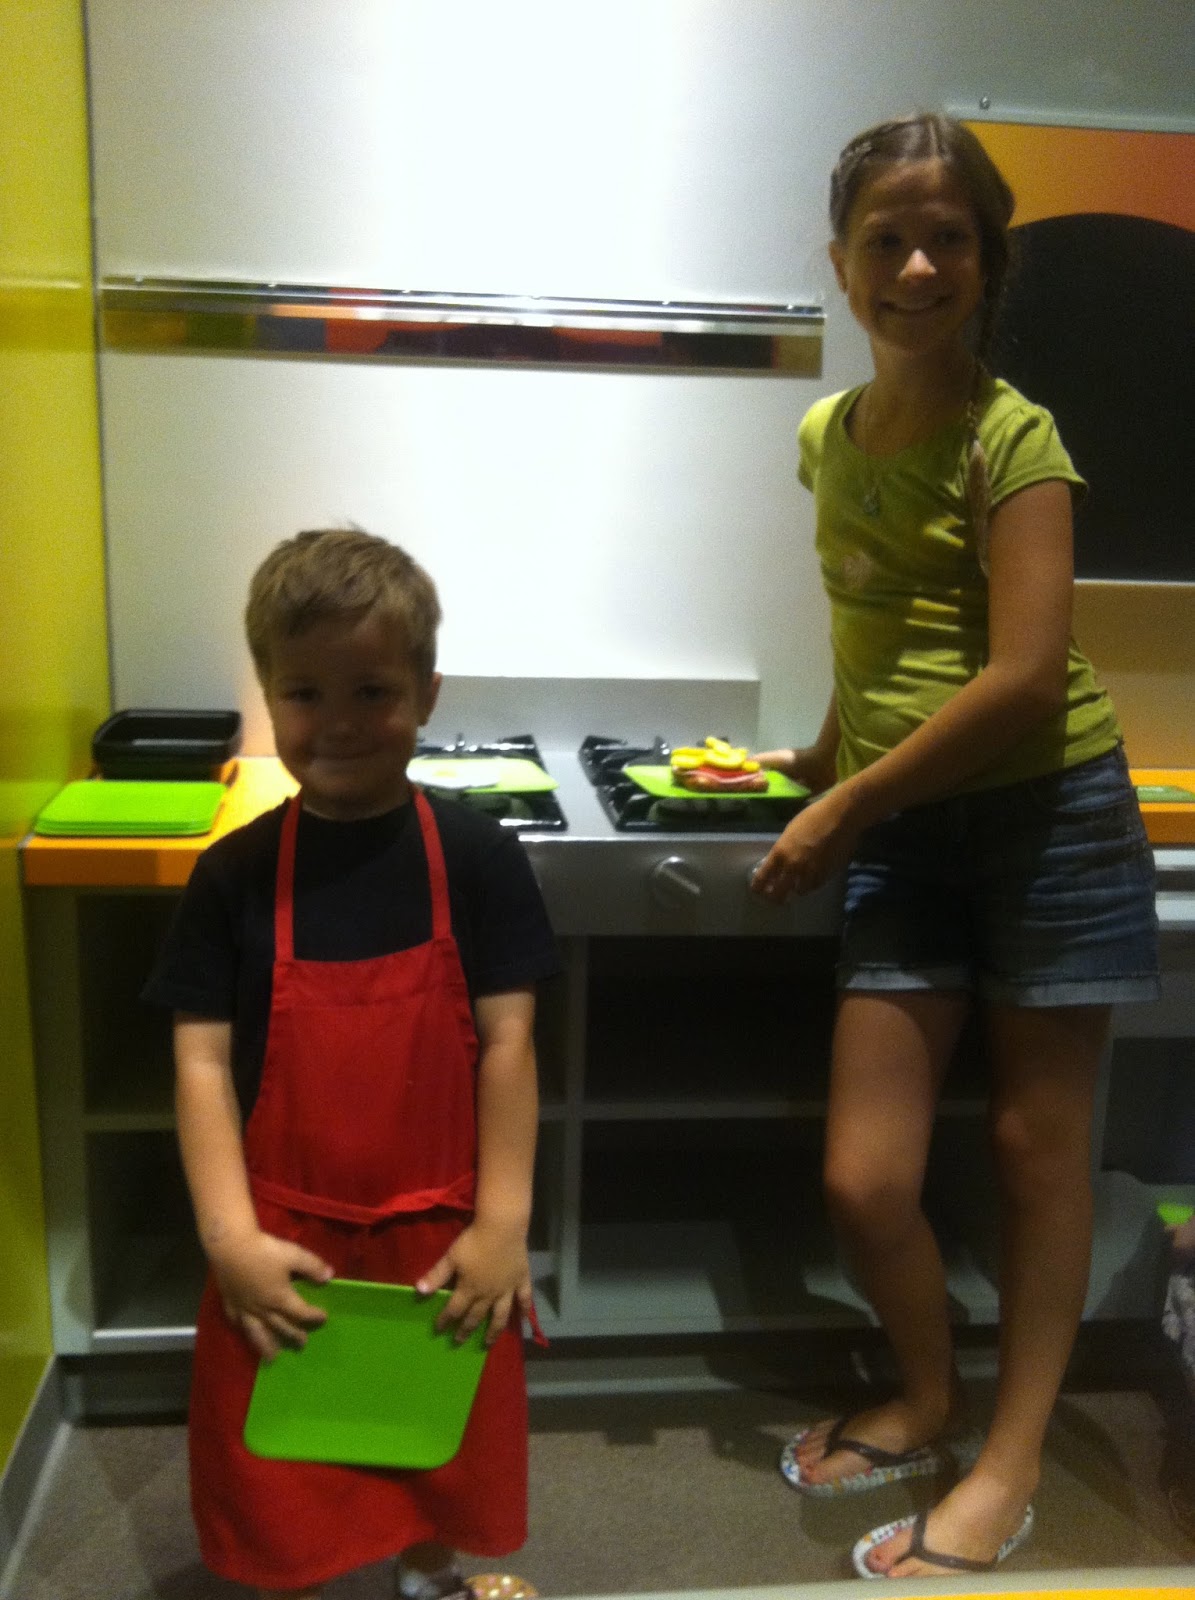
After the Shark Reef we spent some time in the store looking and playing with various toys.

If you have read my other posts about the different days we had while in Vegas, you will know that we tried to make an entire day of the things we did. This day, we read about sea creatures, did some sea creature math with little fish crackers, and had an art project. And that, my friends, brings me to the purpose of this post. We made jellyfish that turned out pretty awesome!


To make these cute little things you will need:
Ribbon, lace, and/or strips of some kind for the tentacles
Plastic bags
Needle
Thread
Hot glue/Hot glue gun
Tissue paper
Foam cut into circles

First, we cut circles out of the foam for the base. The we cut the handles off plastic grocery bags. We sewed them onto the foam circles; gathering the plastic as we went along. Leave a space to fill the inside of the plastic bags with tissue paper. When we were done sewing, we filled the inside with matching colored tissue paper. While everyone was choosing their ribbon and lace, I sewed the bags closed with the tissue paper loosely wadded up inside. Once everyone had their tentacles chosen, we hot glued them onto the base of the foam. we used lace for the inside to match the jellyfish we saw at the aquarium and ribbon or yarn for the outside tentacles. They turned out incredibly cute, and the kids were so proud of them. For hanging, we sewed thread to the top of the plastic bag.


Saturday, September 28, 2013

Discovery Children's Museum day

Another place to visit in Las Vegas for the little ones is Discovery Children's Museum (previously known as Lied Discovery Museum). We spent an entire afternoon in this new 3 or 4 story hands-on museum. 

We started at the top where we got to be detectives trying to figure out some answers based on the clues we found. The clues incorporated many different senses including sight, smell, and touch.

Here they panning through sand to find various clues.

After the mystery exhibit, they had a inventors station that included legos, building flying machines (in the first picture they are watching their flying machine float down), building that can sustain earthquakes, and so much more.

Next was the art section. Draw, color, cut, magnify various materials to see patterns, the list goes on!

This was the place the kids got to pretend to run a town. In the first picture (sorry, the lighting was terrible for pictures) they are chefs. The second picture is a grocery store where they can go shopping or they can pretend they work at the store in the many different jobs at a grocery store. The last picture is in a vet clinic. They had an airport, bank, and wind turbine plant.

In the center of each level was a tower that has various learning and interactive activities. You can move to and from each level in this one tower. We didn't even get to all the cool activities inside the tower there were so many!

Another fun area was the water world they created. They have rain coats for the kids and many different pools of water with music activities, building activities, and buckets, balls, and squirt areas. My little man was soaked despite the raincoat he was wearing.

The last place we visited was a dress up, puppet show, theatre, castle and ship place.

The first step was to dress up for the play.

Then the play. We had a director running the curtains and narrating and another person in the booth running the lighting and sounds. 

The last thing we did was the mambo out of the museum. Right before they close they make announcements of the closing time. When it is time to leave they have some of the employees go around to some loud fun mambo music gathering those who are left. They create a train and take everyone out to the front of the museum where the customers go through a line of high fives and thank yous and goodbyes from the rest of the employees. It was a very fun and creative way to leave an amazingly fun place.

Tuesday, September 24, 2013

M&M day

One of the days we had in Vegas was M&M day. It was a blast. I just had to share.

We went to M&M World on the strip. If you have never been there, go. It is pretty cool-full of history, pictures, picture opportunities, even a free 3D show, and tons and tons of stuff to look at. Seriously its 4 levels of things you might not have ever imagined existed in the M&M world. Here's a tiny, minuscule, itty bitty, teeny tiny bit about what we did and saw while there.

Yellow came out and there wasn't even a long line to see him.

Love how my little man is posing like mr. cool will a statue of blue.

So, they found these cute plush M&M's. We just had to take a picture with them.

Photo Op! Apparently many people miss this wall. It is kind of tucked away behind the movie.

So, after going and seeing and doing so much, we decided to have some activities centered around M&Ms. My mom created a mach lesson using M&Ms. While she was working with them, I was setting up an M&M obstacle corse. 

Because I have some small children, I wanted to make sure they knew what they were doing so we walked through each step slowly together. Then, we started...

Down the stairs.

Fill a cup by sending M&Ms down the tube.

She found the trick to it. I still had to help Little Man.

The first time we did this, we did it as fast as we could while staying all together. It worked out great for pictures! This was jumping over the M&M bag towers. I had to give my younger brother a tiny challenge with the taller bags.

Then, eat the four M&Ms without hands.

Push the M&M with you nose to the line.

She was giggling so much, it was really a difficult task at this point.

Search for your bag of M&Ms.

Run upstairs and collapse.

Then we did it again one at a time for those who wanted to be timed. They had a blast!


Monday, September 16, 2013

Non-alchocolic Mint Julep Recipe

We had an amazing trip over the summer. While on the trip we were able to go to Disneyland. This was my children's first trip there. It was so amazing to see the excitement in their eyes. It was great!

The Sword in the Stone is one of my husband's favorite Disney movies, so I knew we had to get a kid pic to send to him since he couldn't go with us. 

While there, we were able to have a variety of great food. One day we decided to eat in New Orleans square. My younger brother decided to be daring and try this drink called a Mint Julep, and I'm so glad he did. It was so good we all enjoyed. When we got back to my mom's house in Las Vegas we decided to figure out to make it. We found this recipe. We got all the ingredients except the creme de menthe syrup. We could not find it anywhere. My mom and I, the complete non-alchocolic drinkers we are decided to try to track it down in a liquor store since that is where is suggests to find it. We went to 3 different stores over about a week asking for it and no one had it. This is Vegas people! If we can't find it in Vegas, where in the world could you possibly find it? Finally at the last place we tried the salesperson suggested we try Whole Foods. Unfortunately, we still didn't find creme de menthe, but we did find a previous bartender who worked there. She knew exactly what to do to make the stuff. As she begin explaining, she suggested looking for this liquid called Mint Infused Simple Syrup. Low and behold, they actually had that. 


On one of the few remaining days we had in Vegas, we finally had a way to make it. We had to tweet the original recipe and this is what we ended up with: Still so yummy even if it is not the exact same as the one we had at Disneyland.

Revised Mint Julep (non-alchocolic) 
3/4 Cup Mint Infused Simple Syrup
1 1/4 oz lime juice concentrate
8 1/2 oz lemonade concentrate
5-8 cups of chilled water
1/2 .75 oz (21.3 g) of finely chopped mint leaves

Mix simple syrup, lime juice, and lemonade concentrate together. This makes 2 cups of syrup. Add 5-8 cups of chilled water to the syrup.* Lastly, add the mint leaves.** Serve over crushed ice.

Possible garnishes: Cherry, Lime slice, Lemon slice, Mint leaves
* If you like your drinks to have strong flavors add 5 cups of water, if you like your drinks a little diluted add 7 or 8 cups of water. If you aren't sure, start with 5 cups. You can always add more if needed. 
** We just added the mint leaves directly to the drink. It made the mint taste stronger which we liked. However, if you don't feel like drinking the chopped mint leaves, you could add whole mint leaves in the drink and take them out before you drink it. 


Now that we have arrived back home, I am finding it near impossible to find Mint Infused Simple Syrup. Looks like I'll have to hit up the liquor stores near me! (Anyone who knows me knows how ridiculous this phrase sounds coming from me as I know nothing of alcohol. =) )

Tuesday, September 10, 2013

Life-like Puppets/Masks

While we were in Vegas, we wanted to make the most of it so each day we had different activities planned for the kiddos. Each day was named something fun. This day was puppet and play day. We created these amazing puppets and put on a play that my younger brother wrote. They had such an amazing time and the puppets are so incredible, I just had to share. The templates we used came from Fellers Arts Factory.