Monday, January 27, 2014

Kitchen Redo- Painting & Staining

We had leftover paint that we knew we could use. Yellow from our main floor and brown from our bathroom. To decide, we painted one cupboard brown and one yellow. 

Brown

Yellow

We settled on brown. I really actually thought the yellow would be fun-add a pop of color from inside since we plan on repainting our yellow kitchen and dining room a different color anyway. But brown was the safe choice and my hubby likes to lean toward the safe side.  Me, I'm more bold.

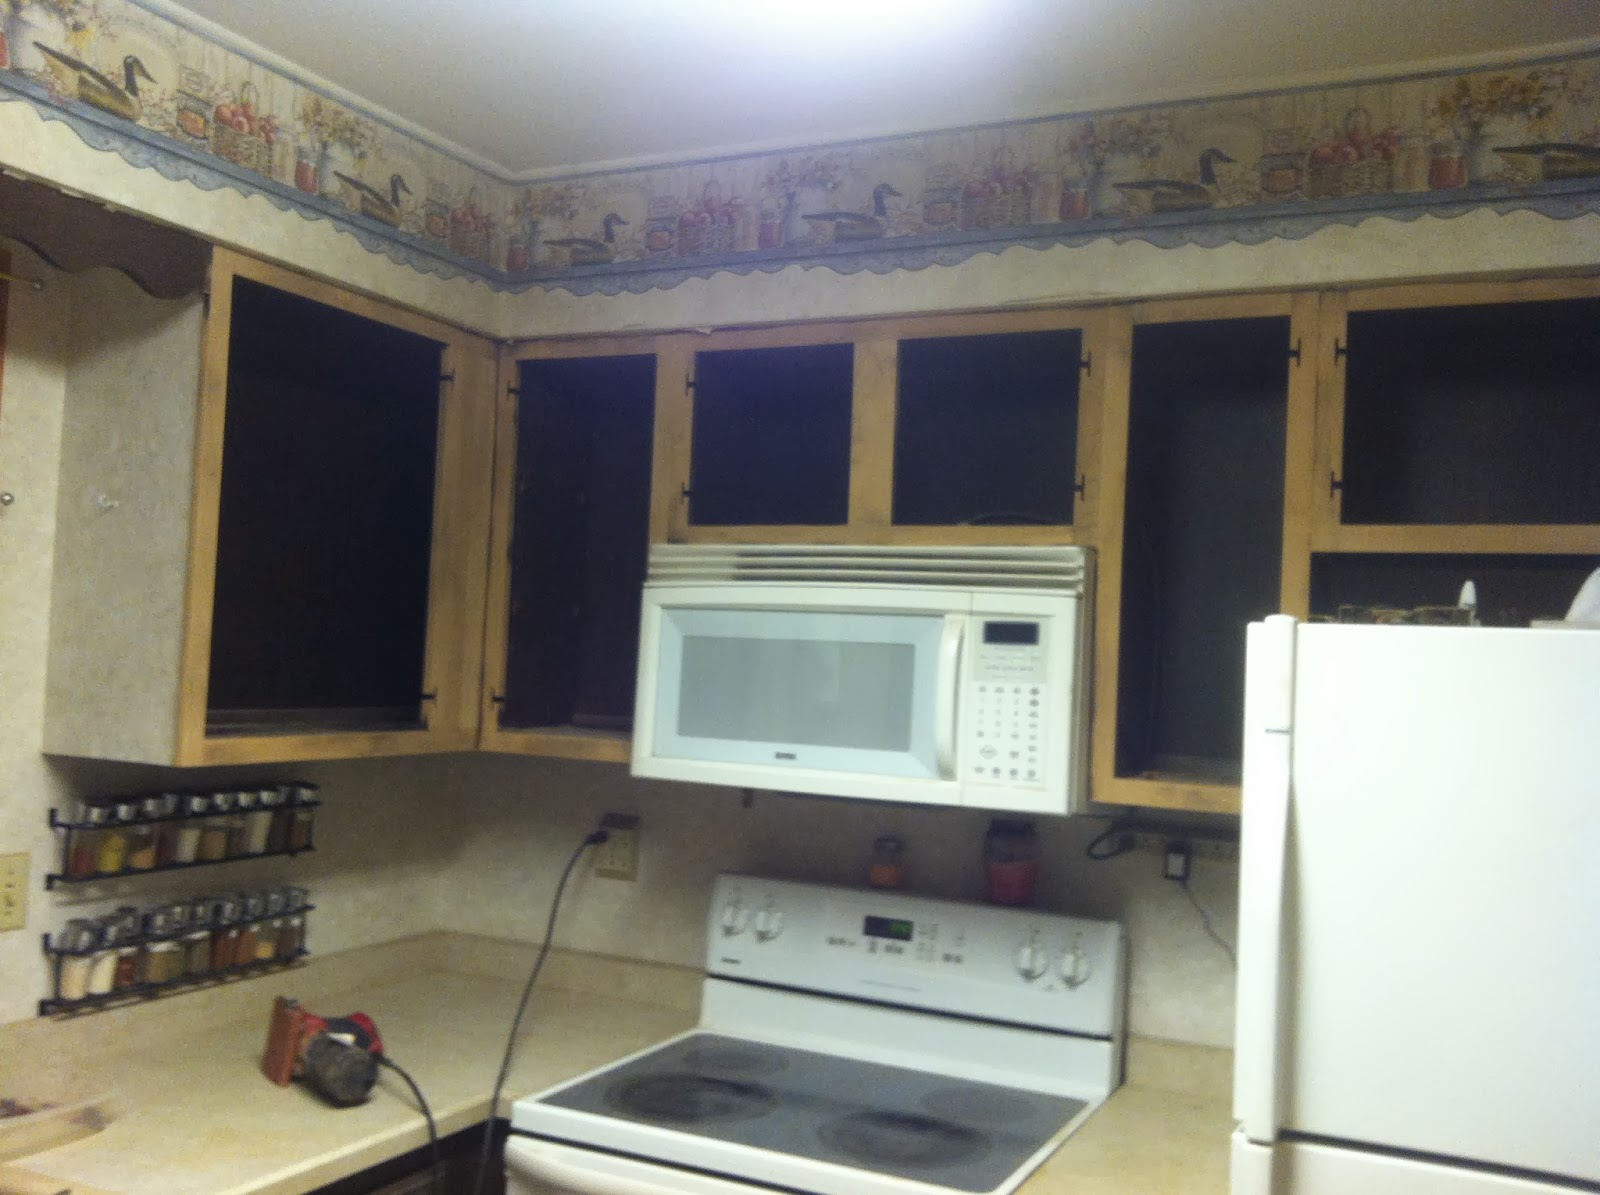
Here is the pre-stained inside painted look.

Again, no stain yet.

We went with golden oak color for the stain. 

It looks different in different light. Even now that we've had the cabinets done for 3-4 months they look different in different light.


We really wanted to get the inside done because our house was a mess and our kitchen was un-usable and we hadn't sat at our table to eat for a really really long time. Oh, and our living room was taken over by all the kitchen innards. We focused on getting the entire inside finished before we started working on the doors. 

When the painting and staining was done, we covered the stain with a few coats of polyurethane. Luckily we did this part while the air wasn't so cold and could open our windows because the fumes were terrible!

To see the before and after pictures click here.
To see the sanding process click here.

Sunday, January 12, 2014

Kitchen Redo- Sanding

I decided to break down all the steps we took to accomplish our kitchen makeover. After we removed all the doors and shelves, we started sanding. This is what we did for an entire 2-3 weeks. Every spare moment we had, we were sanding. 

In this post here, I mentioned how we just wanted to see if the skeleton of the cabinets would be stainable, this is where we started and why we had to keep going. Huge difference between the dark and what was under there!


It already felt brighter with just the outsides rid of that dark stain.


See all the dust on the stove? My kids loved getting their little fingers on it whenever mom and dad weren't watching. =)


I highly suggest wearing a mask. Yes it looks silly, but look at all the light brown on my shirt. That is all dust just from working right in that little spot. Also if you don't want dust all over everything in your house, you should probably cover it. We didn't have that luxury so we were vacuuming our entire house on a daily basis. That dust got EVERYWHERE!

The insides of the cabinets were that laminate stuff that is not stainable. So, we decided to paint the insides. Before we did that, we sanding the walls inside to rough it up a bit so the paint would stick to it better.


To see the before and after pics click here.

Thursday, January 9, 2014

Kitchen Redo- Before & After

About the time school started my husband and I innocently started looking into how we could fix up our kitchen. It was old, dingy, and dark. We were tired of the many various colors of wood throughout the kitchen, and since we moved in 6 years ago have been dreaming of ways we can improve it. Without really meaning to, we got started on a kitchen makeover project that lasted about a month. I know that sounds crazy, how can anyone get into a huge project without meaning to? Well, we had a cabinet door that was broken in the middle and we had been thinking that maybe we can cut out the wood paneling and replace it with something-glass, chicken wire, plywood, etc. So, with the broken door in hand my husband went to explore. We weren't even sure if it was real wood under all the dark stain. We thought it might just be pressed wood with a laminate covering. We figured out we could in fact cut out the paneling and sand down the outside of the cabinet doors which would reveal stainable wood. But we were still worried about the cabinets themselves, were they stainable? About 5 minutes after I asked that question, part of the cupboard frame was sanded and we had decided that with one door missing and part of the dark wood already sanded, we had to keep going. That day we made a trip into town to buy plywood, stain, polyurethane, and sandpaper. Because of the weird start we had, I didn't get very many good before pictures, but I think you get the idea...

See the different wood colors? Yes, this is what we moved into.


This is the wood paneling we cut out. The frames of the doors were actually nice so we just replaced the inserts and re stained them. 
Terrible picture, I know, but you can see how dark and drab the kitchen looks.


Much better, right? We still have a few things we want to do, but for now, we are very happy with the results. 

To see the before and after pictures click here.
To see the sanding process click here.
To see the painting and staining process click here
To see the mess we created click here.
To see the cabinet doors click here.
To see the door and drawer trim click here.
To see how we added a cutting board shelf click here.
To see our kick board click here.